Winter break is just around the corner, so what better time to try out some new recipes? Spice up your holiday cookie exchange, school potluck, or even just reward yourself after finals with these cake pops that you can make in less than 10 steps! This recipe will feature some of the best tips and tricks that will minimize your time and maximize your efforts! So grab a friend, find some leftover cake, and crank up the Mariah Carey!
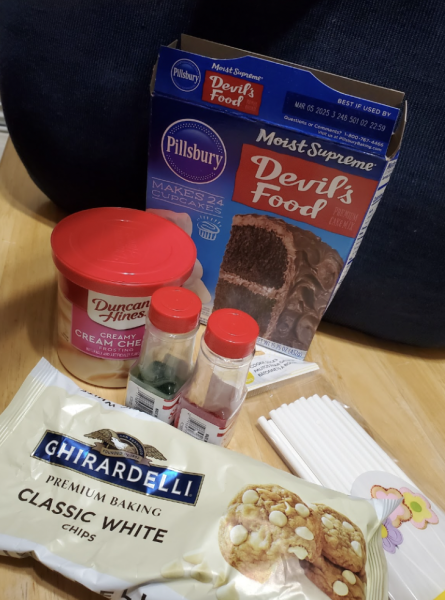
Ingredients:
- Any type of cake
- Half a container of frosting
- Sprinkles
- Lollipop or cookie sticks (preferably on the thicker side)
- Chocolate
- Canola Oil (optional)
Instructions
- Bake your cake, and let it cool. You can cut off any burnt or especially crisp pieces to ensure the pops have a smoother appearance!
- Break off pieces of the cake and add them to the blender, just enough to break up the pieces. Add about half a cup of frosting at a time. If you don’t have a blender, you can do this by hand.
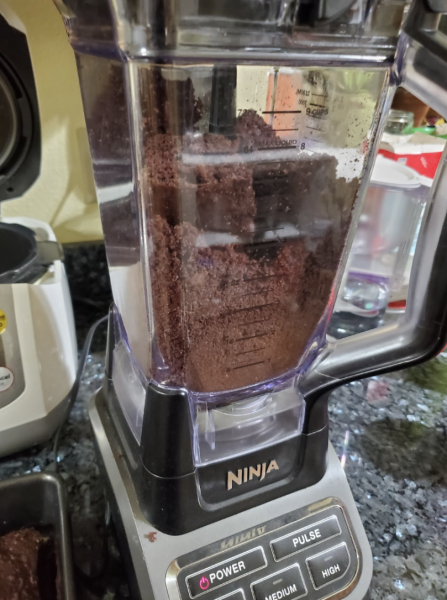
Don’t forget to add the cake to the blender! (Sara Hwang ’26) Keep adding cake pieces and frosting until all the cake is blended coarsely. If needed, add more frosting, about one tablespoon at a time. You want to make a sort of paste that holds its shape and feels moist, but that looks a little crumbly. Remember: a little goes a long way!
- Roll the mixture into balls. They should be about the size of a golf ball, but you can adjust for smaller or larger sizes—just keep in mind that the sticks will have to support them. An ice cream scooper is a good way to keep the sizes consistent!
- Melt down some chocolate chips and dip the sticks into the melted chocolate before spearing the cake balls. Push them upright and ensure they go through completely. If the cake pops crack, just press the edges together, and they should hold their shape. Remember: this will all be covered in chocolate!
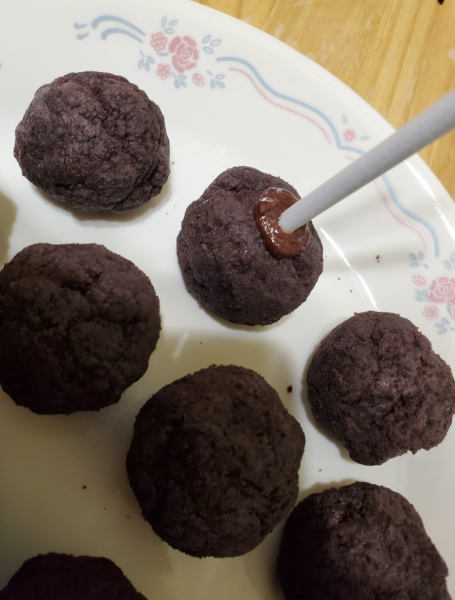
Use chocolate to “glue” your cake pops to the cookie sticks! (Sara Hwang ’26) - Refrigerate for at least 1 hour.
- Decorate the cake pops.
- Melt down ½ a cup of chocolate chips with a teaspoon of vegetable oil until it forms a glaze. You can even use white chocolate and make the pops different colors with food coloring!
- Cover your cake pops in chocolate. You can try drizzling, dipping, or any other method you prefer!
- Cover with sprinkles and place on a parchment paper-lined plate.
- If the cake ball happens to fall off the stick, cover it with more chocolate and reinsert the stick before refrigerating for an hour to set the chocolate.
- Refrigerate for at least 1 hour to set the chocolate.
- Enjoy! If not consumed immediately, refrigerate for up to 1 week.
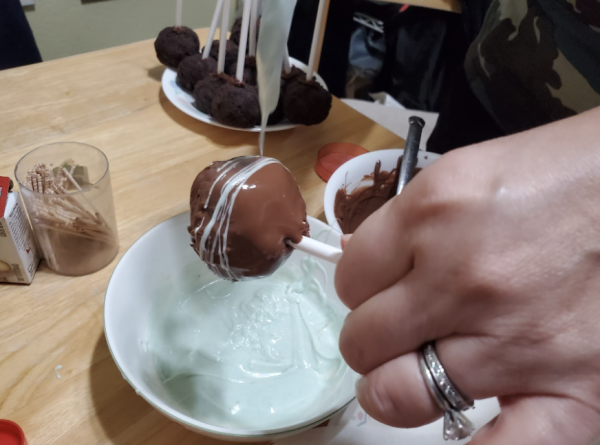
Decorate your cake pops however you would like, and enjoy!